Before & After Smile Gallery
-
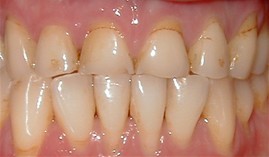
Before
 After
After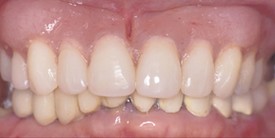
Upper and Lower Arch Rehabilitation
-
Before
 After
After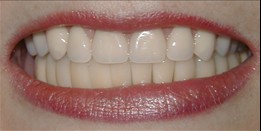
Upper and Lower Arch Rehabilitation
-
Before
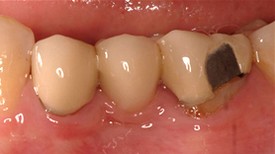
 After
After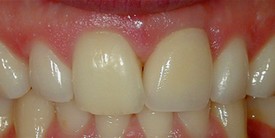
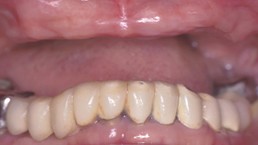
Single Tooth Replacement
-
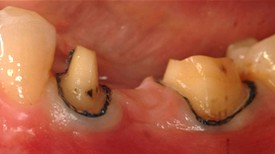
Before
 After
After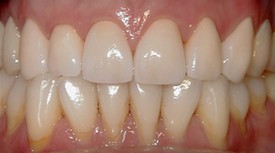
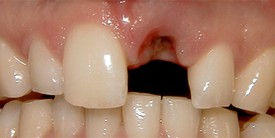
Upper Arch Rehabilitation
-
Before
 After
After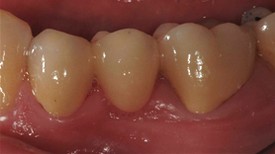
All Porcelain Bridge
-
Before
 After
After
All Porcelain Bridge